



⚡ TL;DR: This helpful guide outlines five essential steps for managing ceiling water damage repair in Boulder, teaching homeowners how to stabilize, identify, and restore their properties after water leaks.
📋 What You’ll Learn
When ceiling water damage strikes your Boulder home, knowing exactly what to do first can save you from costly structural repairs. This guide helps you navigate the immediate steps toward restoration.
- Identify your immediate stabilization options to protect your living area from further collapse while you organize a professional assessment of the ceiling damage before it worsens significantly.
- Detect hidden moisture and leaks by understanding the unique architectural challenges Boulder homes face, such as snowmelt issues and plumbing configurations that often lead to recurring ceiling water spots.
- Compare restoration costs and materials so you can effectively budget for repairs, whether you are dealing with minor drywall patching or extensive structural work required after a major leak.
- Prioritize mold mitigation techniques to ensure your indoor air quality remains safe following water exposure, focusing on rapid drying methods that prevent long term fungal growth in your home.
📖 Reading time: 7 min
✍️ Author expertise: Boulder water damage restoration specialist with decades of local field experience in property recovery.
You wake up to the soft pitter-patter of rain, only to realize the sound is coming from a wet spot spreading across your living room ceiling. That yellowing stain isn't just a cosmetic eyesore; it is a ticking time bomb for your home’s structural integrity.
In Boulder, our freeze-thaw cycles and heavy snow loads play havoc with rooflines, often hiding the true source of a leak until the damage is already severe. Ignoring that damp patch for even a few days can invite toxic mold to move into your drywall, turning a simple patch job into a massive restoration nightmare.
Before you climb into your attic or start tearing away at the plaster, you need a clear game plan to stop the bleeding and assess the extent of the disaster. Here are the five critical steps you must take right now to protect your property and keep your repair costs from spiraling out of control.

Immediate Containment: How to Stabilize Your Ceiling Before Structural Failure
The moment you spot that telltale bulge or dripping stain, your goal is simple: stop the gravity-fed destruction. If the ceiling is sagging like a heavy water balloon, you must relieve the pressure immediately to prevent a collapse that could ruin your floors or furniture.
Grab a bucket, a sharp screwdriver, and some heavy plastic sheeting. Move your valuables out of the splash zone, then carefully poke a small hole at the lowest point of the sagging area.
Safety Steps for Controlled Drainage
- Place a bucket directly beneath the sag to catch the runoff.
- Slowly puncture the drywall with a screwdriver to allow water to drain steadily.
- Avoid making a massive hole; a small opening keeps the integrity of the ceiling frame intact while releasing the trapped weight.
- If the water is discolored or smells like sewage, step back and call a professional immediately to avoid contact with contaminated gray or black water.
Once you have initiated the drain, check your breaker panel. If the leak is near light fixtures, outlets, or smoke detectors, shut off the power to that room right away to prevent a lethal electrical short.
Remember, your primary objective is to manage the flow of water and protect your belongings. Do not try to perform major structural repairs while the material is still saturated, as wet drywall loses almost all its strength and can crumble under the slightest pressure.
Pinpointing the Source: Investigating Boulder’s Unique Roof and Plumbing Challenges
Boulder homes often face a double threat: aging plumbing systems and the extreme pressure of mountain weather. When you see a wet ceiling, do not just assume it is a simple roof leak. In many cases, the culprit is condensate line blockage in your HVAC system or a slow drip from an upstairs bathroom pipe that only shows up when the shower is running.
To find the source, you have to play detective. Start by tracing the path of the water back toward the highest point of the stain. If the ceiling is wet during a storm, the roof is the prime suspect. If the stain grows regardless of the weather, look toward your internal plumbing fixtures.
Common Culprits in Boulder Homes
- Ice dams preventing proper drainage along eaves.
- Failed roof flashing near chimneys or skylights.
- Cracked supply lines in second-story bathrooms.
- Clogged HVAC drain pans overflowing into ducts.
Pay close attention to where the water travels. Water often runs along wooden rafters for several feet before it finally drips onto your drywall. This means the actual leak is frequently located several feet away from the ceiling stain. If you are struggling to trace the flow, it is time to stop poking around and call in a local expert who knows the unique structural quirks of Colorado construction.
Moisture Mapping: Why Professional Sensors Are Essential for Hidden Damage
Most homeowners assume that if the ceiling feels dry to the touch, the problem has stopped spreading. This is a dangerous assumption that leads to rotting joists and hidden structural failure.
Water behaves like an invasive species; it follows gravity and travels along studs, wires, and insulation far away from the initial leak point. In Boulder homes, where cold attics meet warm living spaces, condensation can trap moisture inside your wall cavities for weeks.
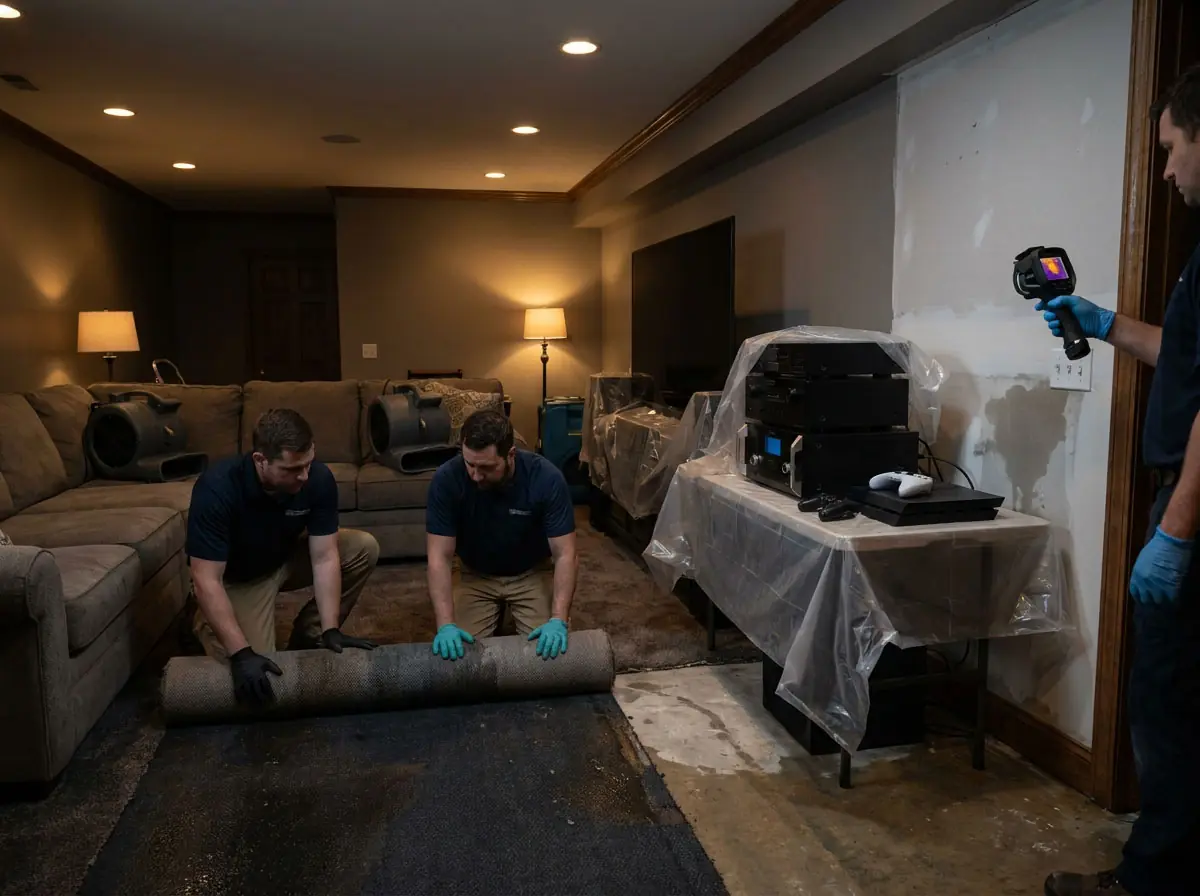
Professional restoration teams use non-invasive moisture meters and infrared thermal imaging to see what your eyes cannot. These tools detect temperature differentials in your drywall and flooring, allowing us to find saturated areas before they manifest as visible warping or bubbling paint.
The Benefits of Professional Moisture Detection
Without industrial-grade sensors, you are essentially playing a guessing game with your home. Our diagnostic approach focuses on three critical areas:
- Pinpointing the exact saturation zone behind finished surfaces.
- Monitoring the drying process to prevent secondary water damage.
- Verifying that the structural wood framing has returned to safe moisture content levels.
When you skip professional mapping, you risk sealing up damp building materials behind new drywall. This trapped moisture is the primary fuel for black mold growth, which can bloom and compromise your indoor air quality within 48 hours of the initial exposure.
Cost Breakdown and Material Comparison Table for Restoration Projects
When you start calculating the price of fixing a water damaged ceiling in Boulder, the numbers often surprise homeowners. You are not just paying for a bucket of paint; you are covering moisture extraction, material removal, and the potential replacement of compromised insulation.
The following table illustrates the typical cost ranges you might encounter based on the severity of the water damage. These estimates help you set a realistic budget before you call a contractor.
| Damage Severity | Restoration Scope | Estimated Cost Range |
|---|---|---|
| Minor | Patch and Paint | $300 - $800 |
| Moderate | Drywall and Insulation | $1,200 - $3,500 |
| Severe | Framing and Mold Removal | $4,500 - $8,000+ |
Choosing the right materials is just as important as the budget. In our Colorado climate, using standard drywall in a bathroom or a roof-leak area is a costly mistake that leads to repeat repairs. High humidity and temperature swings demand specific products designed to handle moisture.
Consider these material options for your ceiling restoration:
- Moisture-Resistant Drywall: Often called green board, it provides a barrier against light dampness.
- Cement Board: Best for areas prone to heavy water exposure or high vapor pressure.
- Fiberglass Insulation: Resists moisture better than traditional paper-faced cellulose, which acts like a sponge for leaks.
Do not be tempted to cut corners with cheap materials just to save a few dollars now. If the wrong drywall is installed, the first time your roof faces a heavy Boulder snow melt, you will find yourself back at square one. Investing in high-grade materials during the initial repair is the smartest way to keep your home healthy for years.
From Patch to Perfection: A Boulder Residential Ceiling Restoration Case Study
We recently handled a project in the Chautauqua area where a classic 1920s bungalow suffered a catastrophic ceiling collapse. The homeowner noticed a small yellow stain in the dining room, but by the time we arrived, the weight of the trapped water had caused a three-foot section of lath and plaster to give way.
The culprit was a hidden roof valley leak exacerbated by our heavy spring snowmelt. We didn't just patch the hole; we performed a full forensic restoration to ensure the home remained structurally sound.
The Restoration Workflow
- Phase One: We carefully removed all saturated drywall and insulation to prevent ongoing mold growth.
- Phase Two: Our team replaced the damaged framing members caused by long-term moisture rot.
- Phase Three: We installed vapor-permeable moisture barriers to protect against future condensation.
- Phase Four: The final aesthetic finish matched the original texture of the historic home perfectly.
A surgical approach is the only way to handle these older homes. If you simply cover up the damage with a fresh coat of paint, the rot behind the surface will continue to feed on your floor joists. Do not gamble with the structural integrity of your ceiling just to save a few bucks on the surface repair.
Mold Mitigation: Protecting Your Indoor Air Quality After Water Exposure
Water damage in your ceiling creates a perfect greenhouse for toxic mold to thrive. In Boulder, where our homes are often sealed tight to trap heat during long winters, spores can spread through your HVAC system in as little as 24 to 48 hours.
Once moisture settles into insulation or drywall, you are no longer just dealing with a leak. You are dealing with a biological threat that can trigger allergies, respiratory issues, and worse. Ignoring the dampness is the fastest way to turn a ceiling repair into a full-scale health hazard.
How to Identify Mold Growth
You do not always need a microscope to see if mold has taken root in your home. Keep a sharp eye out for these telltale warning signs:
- Musty, earthy smells that do not go away after you dry the surface.
- Visible fuzzy patches or black, green, or white specks on the drywall surface.
- Physical symptoms like sudden sneezing, itchy eyes, or headaches when you enter the room.
- Persistent dampness in the insulation located directly above the ceiling tiles.
If you suspect mold, keep your distance. Disturbing contaminated materials can release millions of spores into the air you breathe. Wear a high-quality N95 mask if you must enter the area, and avoid running your furnace or air conditioner until a professional has inspected the ducts. Proper containment is the only way to stop the contamination from jumping from your ceiling into the rest of your living space.
When to Call the Professionals for Long-Term Structural Safety
There comes a point where a bucket and a prayer are no longer enough. If your ceiling begins to sag, bubble significantly, or develop a brown ring larger than a dinner plate, you are dealing with a major structural event.
Attempting to fix deep moisture issues without the right tools often leads to trapped water. Trapped water is the primary cause of toxic black mold growth behind your walls.
You should contact our team at Ceiling Water Damage Repair immediately if you notice any of these red flags:
- The drywall is soft, spongy, or crumbling to the touch.
- You detect a persistent, musty odor that lingers even after drying the surface.
- Electrical fixtures near the leak begin to flicker or hum.
- The water source involves raw sewage or unknown outdoor contaminants.
Professional restoration is not just about making your ceiling look pretty again. It is about stopping the rot and ensuring the wood framing remains solid for the life of your home.
We use industrial-grade dehumidifiers and thermal imaging to find what your eyes cannot see. Skipping this step often means paying for the same repair two or three times because the hidden moisture was never actually addressed.
People Also Ask
How can I tell if my ceiling water damage is from a roof leak or plumbing?
A ceiling leak directly under a bathroom or kitchen suggests a plumbing failure, while leaks appearing after storms often point to roofing issues. You can observe the timing of the drip to distinguish between a pressurized plumbing leak and weather dependent infiltration.Does homeowners insurance in Boulder cover ceiling water damage?
Most insurance policies cover sudden and accidental water damage, but coverage for roof leaks or pipe bursts can vary based on your specific policy terms. It is important to document all damage immediately and review the flood insurance guidelines if the damage resulted from external water sources.What are the first signs of mold growth on a wet ceiling?
Visible signs include fuzzy spots, dark discoloration, or a musty odor emanating from the damp area. Mold can begin to colonize wet drywall within 24 to 48 hours, so rapid drying is essential to prevent long term issues.Should I cut a hole in my ceiling to drain trapped water?
Creating a small, controlled hole can prevent the ceiling from sagging or collapsing under the weight of pooled water. However, you must first turn off the electricity to the area to avoid the risk of shock from hidden wiring.How much does it typically cost to repair ceiling water damage?
Repair costs depend on the severity of the water saturation and whether structural framing or electrical components were affected. Professional remediation generally includes moisture removal, material replacement, and texture matching to restore the aesthetics of your home.Need Water Damage Restoration Services?
We provide rapid water damage restoration and structural drying for homes and businesses throughout Boulder and the surrounding communities. Our team arrives quickly to stop moisture intrusion and restore your property to a safe, pre-loss condition (80301, 80302, 80303, 80304).
Request Project Estimate