


⚡ TL;DR: This informative guide helps Plymouth homeowners identify the sources of ceiling water damage, take immediate protective actions, and determine when to hire professionals for permanent structural repair.
📋 What You’ll Learn
Discover how to address ceiling water damage in your Plymouth residence with this comprehensive guide designed to help you identify leaks, manage immediate property protection, and ensure long-term structural integrity.
- Identify the primary sources of leaks by learning how to trace water patterns typical in local Minnesota homes, ranging from roof ice dams to plumbing failures hidden above ceilings.
- Take immediate mitigation steps to protect assets by learning the correct sequence for containing water flow and safely drying out affected areas before significant structural damage takes root.
- Evaluate the hidden risks of mold growth so you can effectively inspect your drywall and ceiling insulation for signs of dangerous decay that often remain unseen by homeowners.
- Decide between DIY repairs or professional help by reviewing a real world Plymouth case study that highlights when professional restoration equipment is necessary for a safe, complete recovery.
- Implement preventative maintenance for winter months to ensure your home remains protected against the harsh freeze and thaw cycles that frequently cause ceiling water damage in Plymouth.
📖 Reading time: 8 min
✍️ Author expertise: Certified water restoration expert managing residential flood and leak repairs in Plymouth, MN.
You wake up to the soft, rhythmic drip of water hitting your hardwood floor and realize with a sinking gut that your ceiling has turned into a giant, sagging sponge. That wet spot spreading across your plaster isn't just an eyesore; it is a ticking time bomb for your home's structural integrity and your family's health.
Living in Plymouth means dealing with freezing winters and rapid thaws that wreak havoc on residential plumbing and roofing. When moisture finds a way inside, it waits for no one, eating away at your drywall and inviting dangerous mold to take root before you even grab a bucket.
Most homeowners make the mistake of slapping a coat of paint over the stain, thinking the problem is solved. In reality, you are likely masking a deeper disaster that could lead to a collapsed ceiling or a massive repair bill down the road.
If you want to stop the rot and fix the source before the damage costs you thousands, keep reading to learn exactly how to handle a ceiling leak like a pro.

Identifying the Hidden Sources of Ceiling Leaks in Plymouth Homes
Water rarely travels in a straight line. Often, the spot on your ceiling is actually several feet away from the actual source of the leak, making the hunt for moisture a frustrating game of cat and mouse.
In Plymouth, our homes face unique pressures. From the heavy weight of record snowfalls causing ice dams to outdated plumbing systems rattling under fluctuating temperatures, your roof and pipes are under constant attack.
Before you start ripping down drywall, you need to play detective. Look for these common culprits that trigger ceiling damage:
- Ice Dams: When snow melts on your roof and refreezes at the gutters, water gets trapped and forced under your shingles.
- Plumbing Leaks: Supply lines or drain pipes located in the attic or inside wall cavities often drip slowly, creating persistent dampness long before a stain appears.
- HVAC Condensation: A clogged drain line on your air conditioner unit can spill water directly onto your ceiling joists.
- Flashing Failures: Weathered seals around your chimney, skylights, or roof vents act as open doors for Minnesota rain and snow melt.
If you have an attic, get up there with a high-powered flashlight. Look for discolored insulation, rusted nail heads, or dark streaks on the wooden trusses. If the wood feels soft or crumbles when touched, you have found a serious entry point that needs immediate professional attention.
Immediate Steps to Mitigate Water Damage and Protect Your Property
When water begins its assault on your home, you must move with decisive speed. The first priority is to stop the water flow at the source by turning off your main water valve if a pipe has burst or a fixture is leaking. Do not waste time trying to figure out the plumbing schematic while your subfloor absorbs thousands of gallons of moisture.
Once the supply is cut, clear the area immediately to protect your belongings and your physical safety. If the ceiling is bulging or sagging, stay clear of the area, as the weight of trapped water can cause a sudden collapse of the drywall. Use these quick actions to minimize the carnage before the pros arrive:
- Move furniture, rugs, and electronics to a dry room.
- Place a heavy-duty container under the drip to catch remaining water.
- Punch a small hole in the center of the sag with a screwdriver to allow the water to drain into your bucket, preventing the ceiling from tearing open under pressure.
- Lay down towels or drop cloths to catch splashback and protect your hardwood floors from warping.
After you have secured the immediate area, you must evacuate moisture from the room as fast as possible. Open windows if the Plymouth weather allows, and set up high-powered fans to circulate air against the affected surfaces. While this helps dry the surface, remember that water hides in hidden pockets behind the drywall, which is why a professional inspection is required to ensure your home is truly dry.

The Hidden Risks of Mold Growth and Structural Decay Behind Drywall
When water saturates your ceiling, the visible stain is only the tip of the iceberg. Behind your drywall lies a dark, damp cavity that acts as a perfect incubator for toxic mold colonies.
These spores can germinate within 24 to 48 hours of initial exposure. Once they take hold, they compromise the air quality inside your Plymouth home and create a genuine health hazard for your family.
Structural Integrity at Risk
Drywall is essentially pressed gypsum held together by paper. When it gets soaked, it loses its structural rigidity, turning into a heavy, soggy mass that puts immense pressure on your ceiling joists.
If left unchecked, you face more than just cosmetic repairs. You are looking at these serious consequences:
- The wood framing may begin to rot, compromising the support for the floor above.
- Insulation can become waterlogged, losing its thermal efficiency and inviting pests.
- Electrical wiring hidden in the ceiling can short out, creating a significant fire risk.
- Hidden fastener corrosion, which can cause heavy sections of the ceiling to fail and collapse unexpectedly.
Ignoring that wet spot is a gamble you will eventually lose. Once the wood begins to warp or the paper backing turns black, the materials are often beyond simple patching and require full removal to ensure your home remains safe.
Essential Warning Signs and Damage Assessment: A Quick-Reference Table
Most homeowners wait until water is actively dripping to take action, but your ceiling often leaves breadcrumbs long before that. Catching these subtle hints early can mean the difference between a simple patch job and a total room renovation.
| Observation | Possible Cause | Urgency Level |
|---|---|---|
| Yellow or brown rings | Slow pipe leak or roof seepage | Medium |
| Bulging or sagging drywall | Active, heavy water accumulation | Critical |
| Musty or damp odor | Hidden mold colonization | High |
| Cracking or peeling paint | Surface moisture saturation | Medium |
| Visible dark fuzzy spots | Advanced fungal growth | Critical |
If you notice discoloration, do not just reach for the primer. Touch the area gently to see if it feels soft or spongy compared to the rest of the ceiling.
Check for these specific red flags during your walk-through:
- Bubbling paint that feels like a water-filled blister.
- Damp insulation near attic access points.
- Increased utility bills that suggest a hidden plumbing breach.
- Water streaks trailing down from light fixtures or ceiling fans.
If you find any of these signs, you need to investigate the area above the ceiling immediately. Do not ignore the problem, as moisture never sleeps and will continue to compromise your home from the inside out.
Professional Restoration vs. DIY: A Real-World Plymouth Case Study
Consider the case of a local family in the Wayzata school district who noticed a small brown ring on their kitchen ceiling after a heavy January snowfall. Thinking they could save a few dollars, the homeowner grabbed a ladder, cut out a small square of drywall, and patched it with a piece from the hardware store.
Two weeks later, the persistent dampness smell became unbearable. They discovered that the leak was actually a slow drip from an attic ice dam that had saturated the insulation, creating a perfect petri dish for black mold to spread across the ceiling joists.
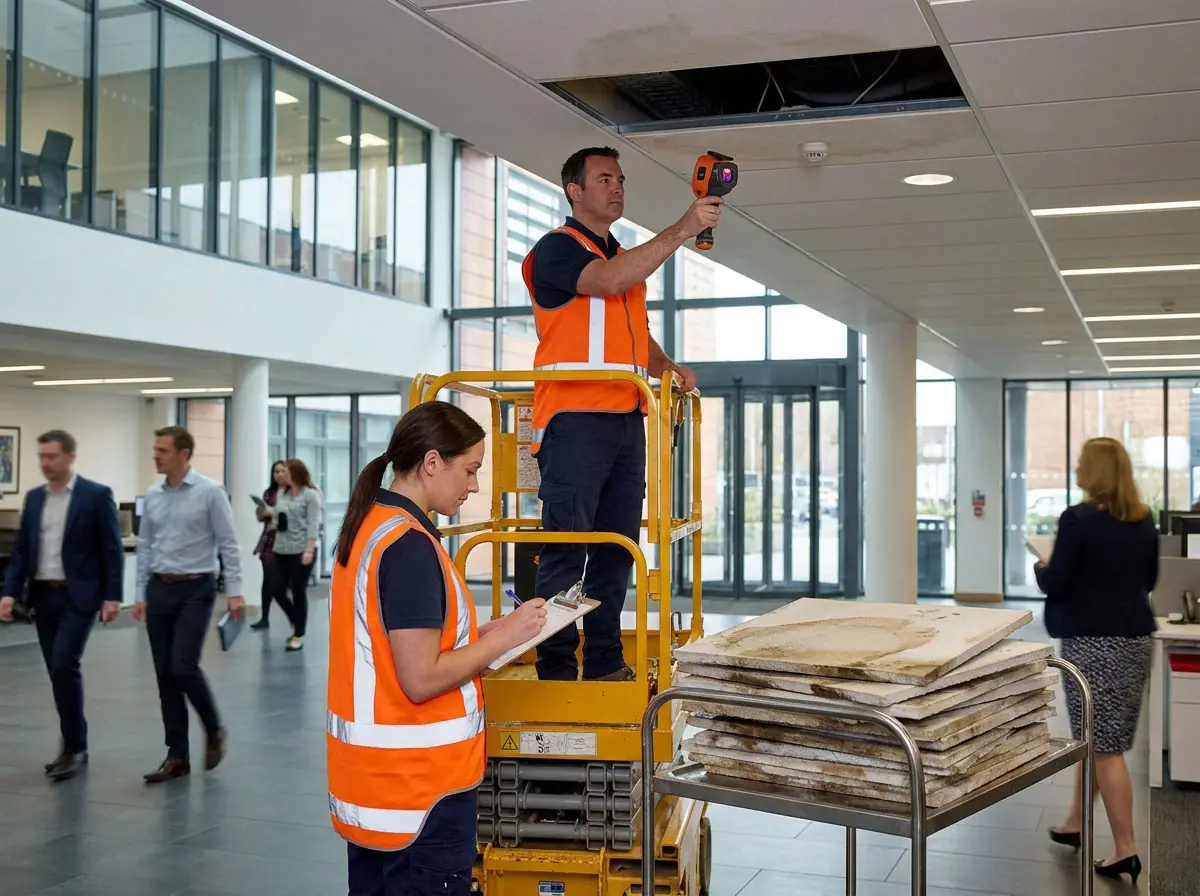
What started as a simple $50 patch job turned into a multi-thousand-dollar restoration project because the moisture was trapped in the framing, not just the surface. Professional teams in Plymouth don't just patch the hole; they use moisture meters and infrared thermal imaging to find where that water is actually hiding.
Why Professionals Outperform the DIY Approach
- Deep Detection: We find water hidden behind electrical wiring and inside insulation where you cannot reach.
- Industrial Drying: Using professional-grade dehumidifiers, we pull moisture out of the studs so they don't rot or attract pests.
- Mold Mitigation: We treat the affected area with antimicrobial agents to prevent spores from circulating through your HVAC system.
- Structural Integrity: If a ceiling beam is compromised, we know exactly how to brace it to prevent a total collapse.
Doing it yourself often means ignoring the invisible damage that sits behind the drywall. If you decide to handle this yourself, you are betting your entire roof structure that you caught the leak in time. When you hire a pro, you are paying for the guaranteed peace of mind that your home won't grow toxic surprises behind your paint job.
Steps to Permanent Repair and Preventative Maintenance for Minnesota Winters
Fixing the leak is only half the battle; you must ensure the area is completely bone-dry before closing up the ceiling. If you seal moisture behind new drywall, you are just feeding the mold colonies you tried so hard to eliminate. Use professional-grade dehumidifiers and high-velocity fans to pull every drop of hidden humidity out of your joists.
Once the area is verified dry, focus on the structural repair. You need to replace any water-damaged insulation that has lost its thermal properties. In Plymouth, this is critical because poor insulation creates ice dams, which are the leading cause of winter roof leaks.
Follow these essential maintenance steps to keep your home safe when the temperature drops:
- Insulate your attic floor to keep heat inside your living space where it belongs.
- Clear your gutters of debris before the first heavy snowfall to prevent ice backup.
- Check your roof flashing for small cracks that let snowmelt seep under your shingles.
- Install heat cables if your roof is prone to heavy ice accumulation.
Permanent repair requires more than just a patch job. If you do not address the ventilation in your attic, the cycle of freezing and thawing will eventually find another weak spot. Invest in proper attic soffit vents to maintain a cold roof surface during winter, which prevents snow from melting unevenly and forming those destructive ice dams that tear through ceilings.
Final Words
Your home is likely your biggest investment, and letting a water stain fester is a direct path to burning money. Taking action today saves you from the massive financial headaches that come with full-scale reconstruction tomorrow.
If you suspect the moisture has spread beyond a simple surface blemish, do not gamble with your family's air quality or the structural safety of your joists. Our team specializes in comprehensive Ceiling Water Damage Repair, ensuring that every drop of moisture is tracked, dried, and neutralized.
Consider these core principles to keep your home bulletproof:
- Inspect your attic insulation for dampness after every heavy Plymouth snowfall.
- Check your plumbing supply lines for small leaks before they turn into gushers.
- Never assume a dried-out stain is a fixed problem.
Ignoring that wet spot is not thriftiness; it is a costly mistake that compromises your safety. Reach out to our professional restoration experts as soon as the first sign of trouble appears to ensure your ceiling stays upright and your home stays dry.
People Also Ask
Does homeowners insurance cover ceiling water damage in Plymouth?
Most standard homeowners insurance policies cover sudden and accidental water damage, such as a burst pipe. However, damage resulting from long term neglect or lack of maintenance is typically excluded from coverage.What are the first signs of water damage on a ceiling?
Look for yellow or brown water stains, bubbling paint, or sagging drywall sections. You may also notice a musty odor, which often indicates that moisture has penetrated the materials behind the surface.How quickly does mold grow after a ceiling leak?
Mold can begin to colonize damp surfaces within 24 to 48 hours of water exposure. According to the environmental agency, controlling moisture is the most critical factor in preventing indoor mold growth.Is it safe to repair ceiling water damage myself?
Small stains from a resolved leak can often be handled with basic repairs, but extensive damage involving structural issues or mold requires professional intervention. DIY attempts often fail to address hidden moisture, which can lead to recurring problems and higher restoration costs.How do Minnesota winters contribute to ceiling leaks?
Ice dams are a primary cause of ceiling leaks during cold months, as melting snow gets trapped behind ice at the roof edge and seeps under shingles. Ensuring your attic is properly insulated and ventilated is essential to preventing this cycle in Plymouth homes.Need Water Damage Restoration Services?
We provide rapid water damage restoration to restore your property to its original condition. Our team responds immediately to mitigate damage throughout Plymouth and the surrounding communities (55441, 55442, 55446, 55447).
Request Price Estimate