


⚡ TL;DR: Before you start ceiling water damage repair in Broken Arrow, identify the source of the leak and assess structural risks to ensure a safe and effective restoration process.
📋 What You’ll Learn
Dealing with ceiling water damage in Broken Arrow requires more than just a quick coat of paint. This guide explains how to identify hidden hazards before you begin any restoration work.
- Pinpoint the exact leak source to prevent recurring water issues that can lead to expensive repeat repairs for your ceiling drywall and underlying structural support beams over time.
- Map hidden moisture pockets using professional techniques to detect invisible mold growth inside your ceiling cavities before it spreads further throughout your home or compromises your family health.
- Evaluate critical structural integrity by identifying key warning signs that your ceiling joists or rafters have been weakened by prolonged water exposure within the unique Oklahoma climate conditions.
- Budget for professional restoration with a clear breakdown of typical repair costs and effective mitigation steps you can take immediately to stabilize the area before calling local experts.
📖 Reading time: 7 min
✍️ Author expertise: Certified water damage restoration specialist with decades of hands-on experience in Broken Arrow.
You hear that soft, rhythmic drip inside your living room, and your stomach drops. By the time you spot that ugly, yellowing circle spreading across your ceiling, you are already looking at a potential structural nightmare hiding behind the drywall.
Most homeowners in Broken Arrow make the same expensive mistake: they slap a fresh coat of paint over the stain and call it a day. That is like putting a band-aid on a broken bone, and it will cost you thousands more when the mold finally takes hold.
Before you grab your ladder or call a handyman to cover up the problem, you need to understand exactly what is happening inside your home. Here is how to identify the source and stop the rot before your ceiling ends up on your floor.

Pinpointing the Source: Why Hidden Leaks Go Beyond the Ceiling Surface
That water spot on your ceiling is merely a warning light on your home's dashboard. Water follows the path of least resistance, meaning it often travels along joists and electrical wires for several feet before finally pooling on your drywall.
Fixing the spot without stopping the flow is a recipe for disaster. You might hide the stain, but the water continues to destroy your subflooring, insulation, and wooden beams from the inside out.
To find the true culprit, you must think like a detective:
- Check your attic space during a heavy Oklahoma thunderstorm to see if moisture enters through roof shingles or flashing.
- Inspect plumbing pipes located directly above the affected area for pinhole leaks or loose couplings.
- Look for condensation trails from HVAC ducts, which frequently mimic roof leaks during the humid Broken Arrow summers.
If the ceiling feels soft or spongy to the touch, the damage is already deeply embedded in the structural integrity of your house. You are not dealing with a cosmetic blemish anymore, but a silent invader that feeds on organic materials like wood and paper backing.
Moisture Mapping: A Step-by-Step Guide to Identifying Hidden Mold Growth
Most homeowners assume that if the ceiling looks dry, the danger has passed. This is a dangerous assumption. Moisture hides in the insulation and wooden joists long after the surface feels firm to the touch.
To perform a basic moisture map, you need to think like a water damage detective. You are looking for anomalies that indicate the path of the water.
- Check for discoloration patterns that originate from pipe junctions or roof vents.
- Use your hand to detect subtle temperature changes; damp areas often feel cooler than the surrounding drywall.
- Look for sagging or bowing in the ceiling surface, as this suggests heavy, water-logged materials.
- Pay close attention to any musty odors in the room, as mold often releases a distinct, damp scent before it becomes visible to the naked eye.
If you suspect deep-seated saturation, you must move beyond visual checks. We recommend using a non-penetrating moisture meter to scan the drywall.
Press the sensor against the ceiling in a grid pattern. If the device gives you a high reading in one spot and a low reading just a foot away, you have identified the primary path of the leak. Do not ignore these readings, as mold colonies can bloom within 48 hours if the moisture remains trapped behind your paint and plaster.
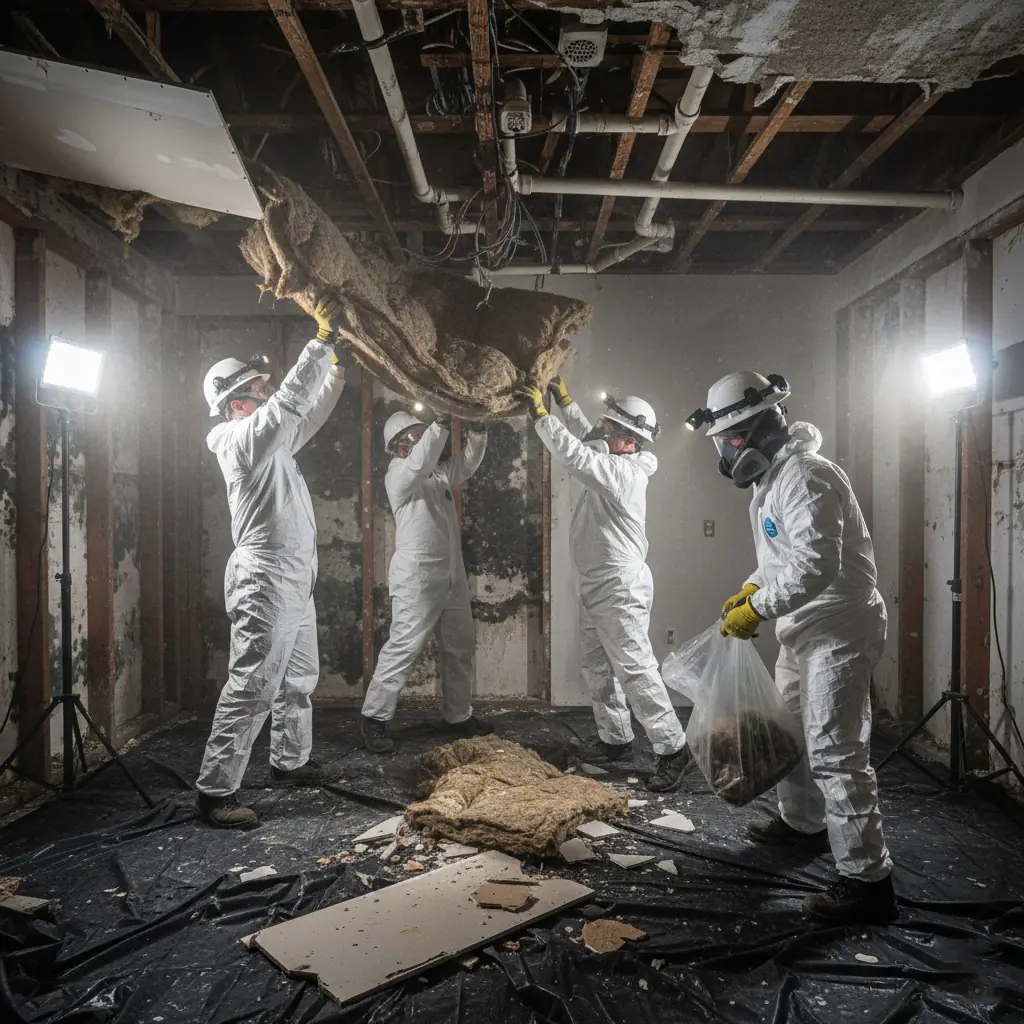
Dangerous Signs of Structural Compromise in Broken Arrow Homes
When ceiling stains grow, the threat often moves from cosmetic to catastrophic. In Broken Arrow, our humid climate can turn a minor roof leak into a breeding ground for wood rot in a matter of days. If the drywall feels spongy or soft to the touch, you are no longer dealing with a simple patch job.
You need to look for these red flags that indicate the structural integrity of your home is under siege:
- Sagging or bowing drywall: This is a clear sign that water weight is pulling the ceiling away from the joists.
- Visible cracks radiating from the leak: These fractures suggest the ceiling material is under intense stress.
- Deep, dark discoloration: If the stain is black or dark brown, you likely have deep-seated mold or decaying wood beams.
- Persistent musty odors: A heavy, earthy smell is a major red flag that rot has already taken hold in your attic framing.
Do not wait until a chunk of your living room comes crashing down. If you notice these signs, the joists above your head might be compromised by moisture saturation. These support members can weaken, losing their capacity to hold up the heavy drywall panels and insulation. When you see the ceiling start to dip, move your furniture out of the room immediately and call in a specialist to inspect the framing before stepping back into the space.
Ceiling Repair Cost Breakdown and Professional Intervention Table
Repairing a ceiling in Broken Arrow isn't just about the cost of a bucket of paint or a sheet of drywall. When water enters the equation, you are dealing with a ticking time bomb of potential mold spores and weakened joists.
Most homeowners severely underestimate the total bill because they ignore the hidden labor. You aren't just paying for materials; you are paying for the expertise required to dry out the cavity properly before sealing it up.
| Service Type | Estimated Cost Range | Why It Is Necessary |
|---|---|---|
| Leak Detection | $150 - $450 | Finding the exact point of entry. |
| Mold Remediation | $500 - $2,500 | Removing hazardous fungal growth. |
| Drywall & Texture | $300 - $1,200 | Restoring the aesthetic finish. |
| Structural Repairs | $800 - $3,000 | Fixing rotted wood and supports. |
If you choose to hire a handyman to simply patch the hole, you might save a few dollars today, but you are guaranteeing a much larger bill next year. When trapped moisture stays behind your ceiling, it rots the wood from the inside out.
Professional intervention involves specific steps that an amateur will almost certainly skip:
- Moisture testing with specialized thermal imaging equipment.
- Controlled drying of the wall cavity to prevent mold.
- Proper disposal of contaminated insulation and drywall.
- Structural inspection of the attic joists to ensure weight capacity remains safe.
Think of it this way: a professional restores your home to its original integrity, while a cheap patch just hides the decay. Investing in the right fix now saves you from a total ceiling collapse or a massive health hazard later.
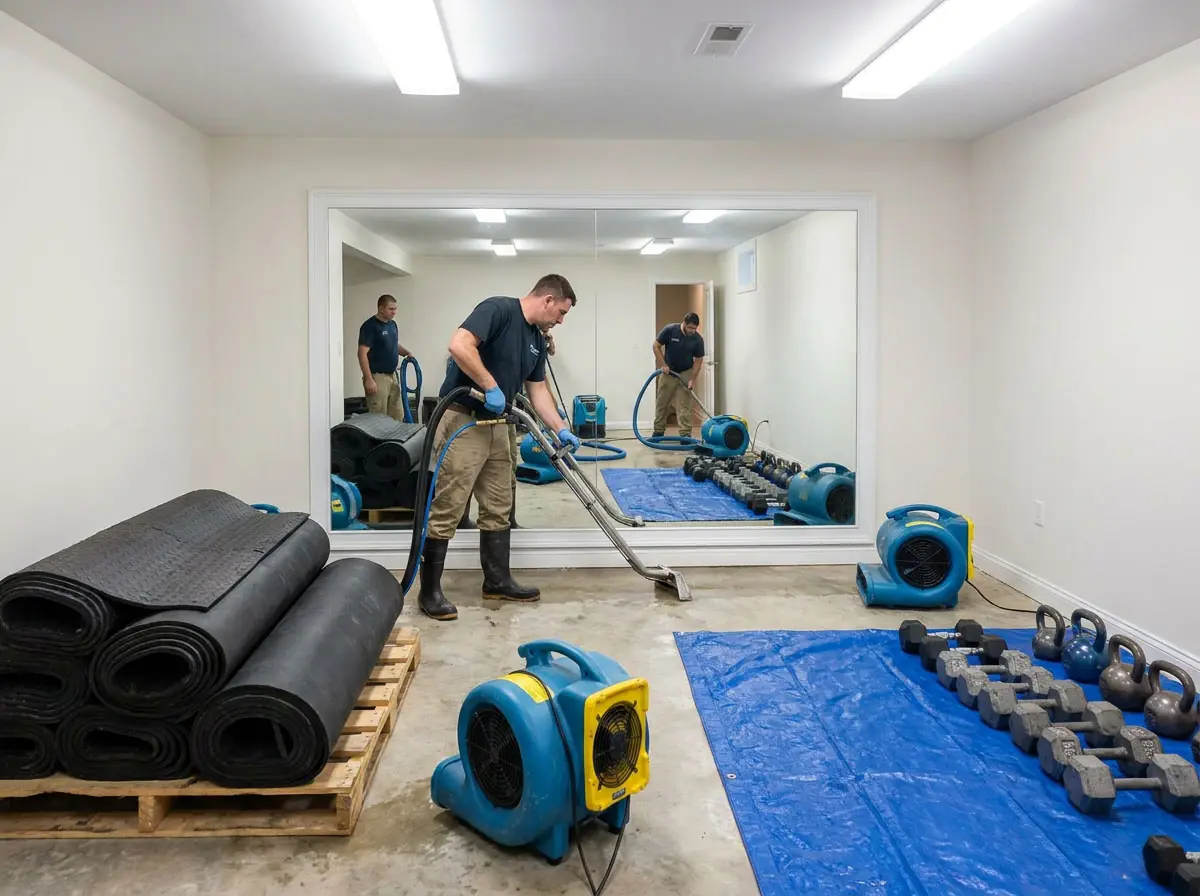
Lessons from a Broken Arrow Kitchen Ceiling Restoration Project
Recently, we helped a homeowner near the Rose District whose kitchen ceiling started bowing after a slow leak from a second-story bathroom. The surface stain looked minor, but our thermal imaging revealed that water had traveled along the joists, saturating the insulation and framing across the entire room.
The owner initially thought a quick drywall patch would suffice. Instead, we found that the moisture had already triggered widespread microbial growth on the attic side of the joists.
This project serves as a stark reminder that water behaves like a traveler. It rarely stays exactly where you see the stain.
Key Findings from the Kitchen Restoration
When our team pulled back the damaged drywall, the extent of the hidden damage was shocking. The structural integrity of the ceiling joists had begun to weaken due to wood rot, which happens much faster in Oklahoma humidity than most people realize.
Here are the primary lessons learned from this specific job:
- Don't trust the surface. A small yellow spot is often just the tip of a massive moisture iceberg.
- Insulation acts like a sponge. Damp blown-in insulation will continue to feed rot to your floor joists long after the active leak stops.
- Time is your enemy. Waiting even a few extra days allowed mold colonies to spread from the drywall to the wooden subfloor above.
If you suspect a leak in your home, assume the damage is three times larger than what is visible to the eye. Bringing in professional moisture detection equipment early saves you from tearing out an entire ceiling later when the structural damage becomes undeniable.
Essential Mitigation Steps to Take Before Calling for Professional Restoration
When you spot water damage in your home, the clock starts ticking immediately. You do not have the luxury of time because moisture breeds mold, and it does so at an alarming speed. Before you even touch a screwdriver, you need to neutralize the immediate threat to your property.
First, cut the power to the affected area. If that ceiling leak is near a light fixture or ceiling fan, water and electricity are a deadly combination. Flip the breaker to kill the juice to that room. Next, clear the area of your belongings to prevent secondary damage from dripping water or falling debris.
Here is your emergency checklist to follow right now:
- Stop the water flow: Locate your home’s main shutoff valve if the leak is caused by a plumbing failure.
- Contain the mess: Place a sturdy bucket under the drip and clear away any rugs or electronics on the floor below.
- Puncture the bulge: If you see a large, heavy bubble in the drywall, use a screwdriver to make a small hole in the center. This allows trapped water to drain safely into your bucket rather than causing the entire ceiling to collapse.
- Boost airflow: Open windows if the weather permits or crank up the air conditioning to help dry the space.
Do not attempt to fix the drywall yourself just yet. Patching up the surface while the internal framing is still soaked is a guaranteed recipe for disaster. You are merely trapping moisture inside the wall cavity, which creates the perfect environment for toxic mold colonies to thrive. Keep the area ventilated, keep the water off, and wait for a professional assessment to ensure the structural integrity of your ceiling hasn't been compromised.
Final Words
Fixing a ceiling stain is never about the aesthetics. It is about the health of your family and the integrity of your investment in Broken Arrow.
When you ignore the source, you invite disaster into your walls. You are essentially paying for a second, much larger disaster later down the line.
Before you commit to a DIY patch job, remember that hidden water travels in unpredictable ways. What looks like a small spot in the kitchen could be a major pipe failure located twenty feet away.
Why Professional Help Matters
If you feel out of your depth, stop what you are doing. Proper Ceiling Water Damage Repair requires specific tools to detect trapped humidity before it turns into toxic mold.
Do not gamble with the structural safety of your home. You should call in a team that knows exactly how to:
- Locate the exact point of origin for the leak.
- Extract moisture from insulation and joists.
- Apply antimicrobial treatments to prevent future growth.
- Document everything for your insurance adjusters.
Your home is likely your biggest asset. Treat it with the respect it deserves by addressing the root cause immediately, not just the visual symptoms.
People Also Ask
How can I tell if my ceiling water damage is from a roof leak or a pipe?
Roof leaks typically appear after rainstorms and may involve dampness near attic rafters. In contrast, plumbing leaks often occur regardless of the weather and may lead to persistent dripping or discolored spots directly beneath second-floor bathrooms.Is it safe to live in a house with ceiling water damage?
Living with ceiling water damage poses significant health risks due to the rapid development of mold and potential structural instability. You can find detailed guidance on managing indoor air quality issues caused by excess humidity through the EPA website.How much does it cost to repair a water damaged ceiling in Broken Arrow?
Repair costs vary based on the square footage of the damage, the extent of mold remediation required, and the underlying cause. While minor patch jobs are affordable, extensive water damage restoration involving structural repairs typically ranges from several hundred to several thousand dollars.Can I just paint over water stains on my ceiling?
Painting over a water stain is only a cosmetic fix that fails to address the moisture trapped behind the drywall. If you do not resolve the source of the leak and dry the area completely, mold will continue to grow and eventually compromise your ceiling surface again.How long does it take for mold to grow after a ceiling leak?
Mold spores can begin to colonize damp surfaces within 24 to 48 hours of initial exposure to moisture. It is crucial to address ceiling leaks immediately to prevent a minor water issue from evolving into a significant mold contamination problem.Need Water Damage Restoration Services?
We provide rapid water damage restoration to secure your property and mitigate secondary damage in Broken Arrow and surrounding communities (74011, 74012, 74014). Our team arrives quickly to extract water and restore your home or business to a dry, safe condition.
Request Price Estimate