


⚡ TL;DR: This comprehensive guide helps Albuquerque residents identify water issues and provides actionable steps for successful drywall water damage repair to protect their homes from long term structural moisture.
📋 What You’ll Learn
Dealing with drywall water damage in Albuquerque requires immediate action to protect your home. This guide provides the essential steps to identify, remediate, and permanently repair moisture issues in your property.
- Identify hidden moisture sources to ensure you stop the water at its origin, preventing structural deterioration and long-term damage caused by New Mexico's specific environmental humidity and temperature fluctuations.
- Assess mold growth risks by utilizing professional tools to measure deep moisture levels in your walls before you begin the process of patching or replacing any contaminated drywall materials.
- Remove damaged materials correctly using industry-standard techniques that prevent the spread of mold spores throughout your home while ensuring the internal substructure is completely dry and safe again.
- Select the right materials by reviewing our comparison of moisture-resistant boards and high-quality sealants specifically suited for the unique climate challenges found across the Albuquerque and surrounding desert areas.
📖 Reading time: 8 min
✍️ Author expertise: Certified Albuquerque restoration specialist with fifteen years of hands-on water damage remediation experience.
You wake up to the smell of damp earth in your living room, only to realize that a small leak has turned your wall into a soft, crumbling sponge. It is the kind of headache that keeps Albuquerque homeowners up at night, knowing that if you ignore that dark spot for even a day, you are inviting a full-blown mold colony into your home.
Drywall acts like a giant wick, drawing moisture deep into your home’s structure and creating a rotting mess behind the paint. Most people think a quick patch job and a fresh coat of paint will solve the problem, but they are just sealing the rot inside.
Fixing water-damaged drywall is not just about aesthetics; it is about stopping structural decay before it costs you a small fortune. Here is the professional way to strip out the damage and restore your walls so you never have to deal with this nightmare again.
Identifying the Source: When a Minor Leak Becomes a Major Structural Threat
Before you pick up a putty knife, you must stop the bleeding. In Albuquerque, many homeowners mistake a small water spot for a cosmetic issue, but that discoloration is actually a warning flare from your home.
Most leaks hide behind baseboards or inside wall cavities where you cannot see them. If you do not track down the origin, you are only treating the symptom while the root cause continues to saturate your home.
Look for these telltale signs to determine if your leak is local or a sign of a larger, systemic failure:
- Bubbling or peeling paint that seems to expand over several days.
- A musty, damp odor that does not go away with ventilation.
- Soft spots in the drywall that feel spongy when pressed lightly with your thumb.
- Discolored stains that show a distinct yellow or brown ring.
Once you spot these, follow the moisture trail. It might lead you to a faulty roof flashing, a leaky pipe joint in the attic, or a window seal that has failed due to our harsh desert sun.
You cannot effectively repair a wall if the moisture is still being pumped into the structure. Cut off the water supply immediately and inspect the surrounding framing to ensure the wood studs have not started to warp or rot.
The Critical Phase: Assessing Moisture Levels and Hidden Mold Growth
Before you pick up a putty knife, you must determine exactly how far the water has traveled. Drywall behaves like a sponge, wicking moisture upward and outward far beyond the visible water stain. If you rely only on your eyes, you are missing the real danger lurking in the hidden cavities behind your wall studs.
Using a professional moisture meter is the only way to know if your wall is truly dry or merely hiding a disaster. Invisible moisture acts as a breeding ground for mold spores, which can begin colonizing in as little as 24 to 48 hours. If the moisture content in your wood framing exceeds 16 percent, you have a mold problem waiting to explode.
Signs You Have Hidden Mold Growth
- A persistent, musty smell that lingers even after the surface is dry.
- Wall texture that feels spongy or soft to the light touch of a finger.
- New paint bubbling or peeling near baseboards or corners.
- Allergy symptoms that flare up only when you are inside the house.
Do not be fooled by a wall that looks clean on the surface. Water follows the path of least resistance, often tracking down the inside of the drywall paper and settling into the bottom plate. If you find elevated moisture levels during your assessment, immediate removal of the saturated section is the only way to ensure your home remains safe and sanitary.

Step-by-Step Restoration: Removing Contaminated Materials and Drying the Substructure
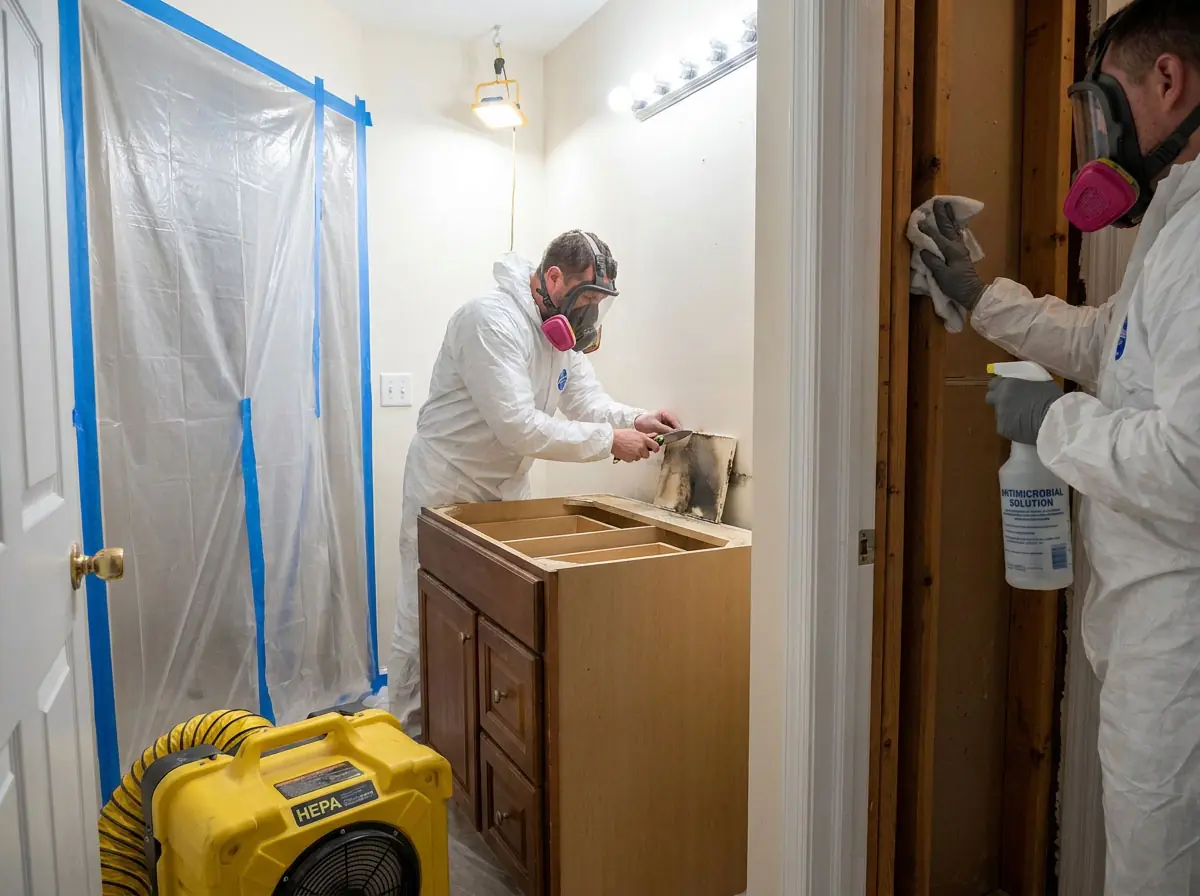
Once you confirm the moisture source, the clock is ticking. You must cut away the affected drywall immediately, extending your perimeter at least twelve inches beyond the visible water line. This ensures you catch the wicking moisture that has already traveled through the gypsum core.
Do not try to save drywall that has been soaked through. Once the paper facing creates a breeding ground for mold, that material is finished. You are better off removing it entirely to protect the health of your home.
Essential Decontamination Steps
- Wear an N95 respirator to avoid inhaling mold spores released during demolition.
- Use a moisture meter to map exactly how far the water has seeped into the studs.
- Remove baseboards and trim to reach trapped pockets of water near the floor plate.
- Sanitize all exposed wood framing with a professional-grade antimicrobial solution.
After you clear out the debris, the drying phase begins. You cannot simply wait for the air to do the work. Albuquerque homes have low humidity, but moisture trapped inside wall cavities will stagnate and rot the framing if left alone.
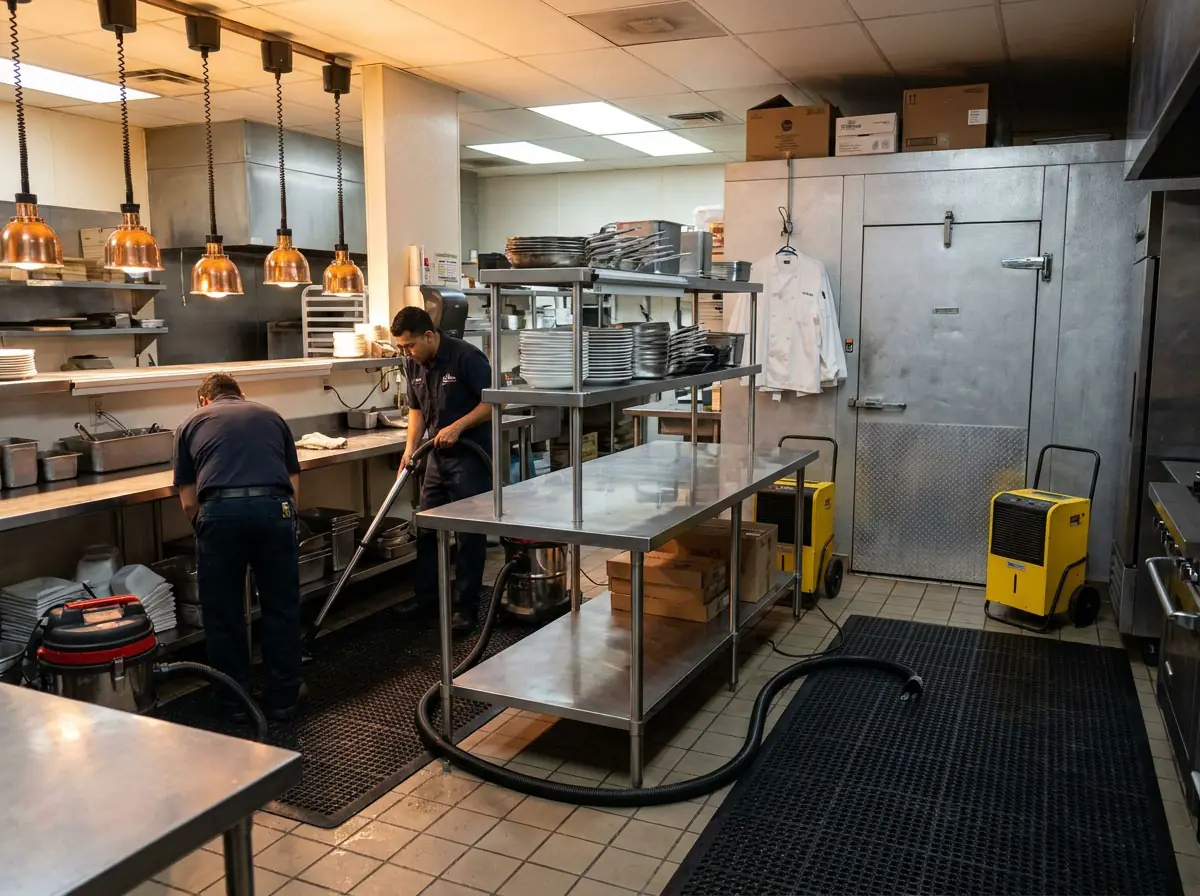
Position high-velocity air movers to force airflow directly into the open wall cavities. Pair these with a commercial-grade dehumidifier to pull moisture out of the air before it settles elsewhere. If you skip this phase, you are sealing raw, damp wood behind fresh drywall, guaranteeing a mold recurrence within months.
The Professional Toolkit: A Materials Comparison Table for Long-Term Repairs
Most hardware store patch kits are built for cosmetic touch-ups, not for the heavy-duty reality of Albuquerque moisture issues. When you are dealing with water damage, the materials you choose determine whether your wall stays dry or becomes a magnet for future mold.
| Material Type | Best Use Case | Why It Lasts |
|---|---|---|
| Mold Resistant Drywall | Kitchens and Bathrooms | Treated paper and core prevent fungus |
| Cement Board | Shower and Tub Surrounds | Impervious to water saturation |
| Waterproof Joint Compound | High Humidity Zones | Dries harder and resists softening |
| Fiberglass Mesh Tape | Structural Seams | Does not rot like paper tape |
If you use standard paper tape in a damp area, you are basically feeding mold a snack. I always recommend fiberglass mesh tape for structural joints because it holds tight even if the humidity fluctuates.
You also need to think about your base layers. Using mold resistant drywall, often colored purple or green, provides a critical layer of insurance. It costs a bit more upfront, but it stops the cycle of rot before it can start.
Key Supplies for Your Repair
- High-grade moisture meters to verify the stud is actually dry.
- Antimicrobial sprays to kill lingering spores on wood framing.
- Fast-setting compounds for areas prone to temperature changes.
- Oil-based primers to seal off any remaining stains or porous surfaces.
Never rush the drying phase just to get the wall back up. If you close the wall while the wooden studs are still holding moisture, the rot will return and destroy your new finish within months.

Real-World Albuquerque Restoration: A Case Study in Recovering from Burst Pipe Damage
Last winter, a homeowner in the North Valley experienced a nightmare scenario when an upstairs pipe burst during a freezing snap. By the time they heard the dripping, the water had already soaked through the drywall ceiling and cascaded down the interior wall of the living room.
The damage looked manageable at first, but our team arrived to find the drywall had turned into a heavy, saturated mess. We did not just look at the surface; we used thermal imaging to see how far the water had traveled into the wooden studs.
What we found proved why quick fixes fail every time. The moisture had wicked behind the baseboards and into the subfloor, creating a prime environment for mold to take root in less than forty-eight hours.
The Restoration Process We Implemented
We immediately established a containment zone to stop humidity from spreading to the rest of the house. Our process was surgical and precise:
- We removed the drywall six inches above the visible moisture line to ensure we caught all compromised material.
- We treated the exposed studs with an antimicrobial agent to kill hidden spores.
- High-velocity air movers and dehumidifiers were placed in the room to pull every drop of moisture out of the framing.
The lesson here is simple: you cannot dry out a wall by just pointing a fan at the paint. Unless you remove the wet, contaminated drywall, the rot will keep eating away at your home from the inside out. By treating the studs and drying the cavity fully, we turned a major disaster back into a solid, safe wall.
Preventing Future Recurring Damage in New Mexico’s Climate
The high desert environment of Albuquerque poses a unique challenge for your home. While we lack the constant humidity of the coast, our rapid temperature swings and intense sun create stress fractures in exterior siding and roofing materials.
When those materials fail, moisture finds a path inside during our monsoon season. You have to stay ahead of the curve to keep your drywall safe.
Take these proactive steps to seal your home against the elements:
- Inspect your exterior stucco every spring for hairline cracks. Even a tiny fissure acts like a straw for rainwater to travel behind your walls.
- Clear your gutters and downspout extensions at least twice a year. If water pools near your foundation, it will eventually wick upward into your framing.
- Check your internal plumbing connections, specifically under sinks and behind refrigerators, for slow drips. A small, constant seep is the silent killer of interior walls.
Consider installing leak detection sensors near high risk areas like water heaters or laundry rooms. These inexpensive devices send an alert to your phone the second they detect moisture, allowing you to stop a disaster before the drywall even gets soft.
Consistency is your best friend when it comes to home maintenance. By treating your house like the complex machine it is, you avoid the nightmare of tearing out walls and the heavy costs that come with professional restoration.
Final Words
Drywall damage is a silent thief that steals your equity and your health while you aren't looking. Ignoring a damp wall in Albuquerque is a gamble you are guaranteed to lose.
If you have spotted signs of moisture, do not wait for the drywall to turn to mush. You need to address the root cause and handle your Drywall Water Damage Repair with professional precision.
Here is what you need to remember to keep your home safe:
- ACT FAST: Mold starts growing within 48 hours of water exposure.
- BE THOROUGH: If the drywall is soft, it is already compromised and needs to go.
- SEAL IT RIGHT: Moisture resistant boards and proper priming are the only way to lock out future issues.
Taking action now saves you from massive structural repairs later. Your home is your biggest investment, so protect it by doing the work correctly the first time.
People Also Ask
How can I tell if my drywall has water damage?
Look for visible signs like yellow or brown water stains, bubbling paint, or warped wall surfaces. In Albuquerque homes, you may also notice a musty odor or soft, crumbling drywall that feels damp to the touch.Is it safe to repair water damaged drywall myself?
Small surface stains may be manageable for DIYers, but deep saturation often hides hazardous mold growth behind the wall. If the leak was significant, consult the EPA guidelines regarding safe mold remediation to protect your indoor air quality.How long does it take for mold to grow on wet drywall in Albuquerque?
Mold spores can begin to colonize damp surfaces within 24 to 48 hours of exposure to moisture. Because our climate is typically arid, people often underestimate how quickly trapped moisture behind a wall can lead to serious microbial growth.Does homeowners insurance cover water damage in Albuquerque?
Coverage depends heavily on the specific cause of the damage, such as a sudden burst pipe versus gradual seepage or flood events. You should review your policy carefully and document all damage with photos before beginning any restoration work.Why is professional drying equipment necessary for wall repairs?
Professional restoration teams use industrial dehumidifiers and air movers to reach moisture levels inside wall cavities that standard fans cannot touch. Relying on store bought fans often leaves hidden pockets of water that eventually lead to secondary structural damage or recurring mold.Need Water Damage Restoration Services?
We provide rapid water damage mitigation and restoration services to property owners throughout Albuquerque and surrounding areas. Our team restores your home or business to its pre-loss condition with immediate response times (87102, 87104, 87106, 87109, 87110).
Request Price Estimate